Feb 15, 2011

Final Project Concept: MOA for Methotrexate


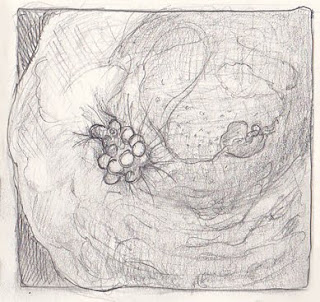
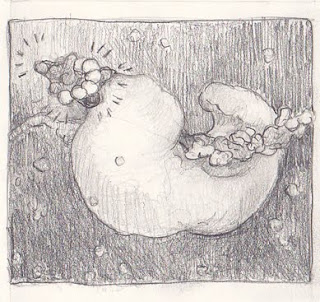
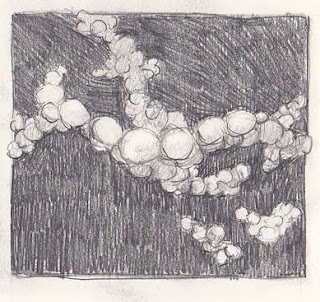
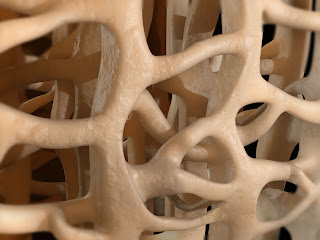
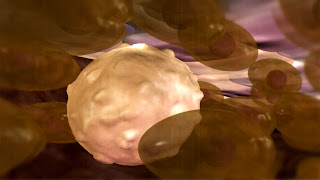
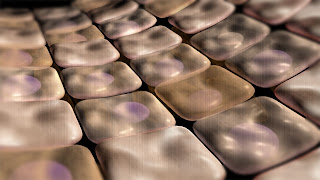
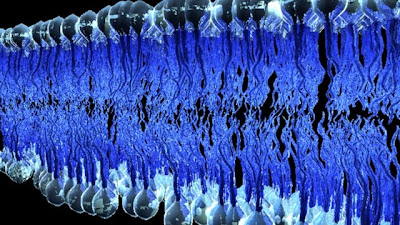
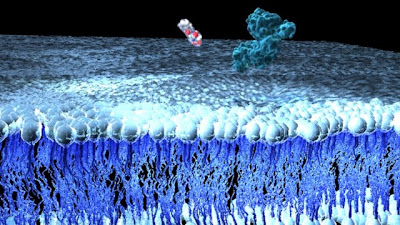
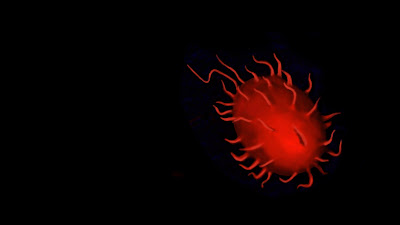
For my final project I will animate the mechanism of action (MOA) of Methotrexate, a first line drug prescribed in the aggressive management of Rheumatoid Arthritis (RA). In most simple terms, Methotrexate targets progenitor cells found in the bone matrix; as an analog to folic acid it may travel into the cell along the folate pathway. It undergoes modifications and inhibits the purine synthesis of adenine and guanine, essential in DNA synthesis. Without these purines, DNA replication is interrupted and cell proliferation is significantly decreased thereby reducing leukocyte cell activity, which in RA attack self-tissue leading to bone damage.

This animation will be incorporated into my final project: an app for doctors to communicate with patients the details of their condition. The aesthetic needs to be consistent and therefore I will refer a previous animation I created for the app. Using a handheld camera with continuous movement and zoom affects to show a shift in magnification level as necessary (ie David Fincher style) and a color scheme with saturated purples, pinks (both cool and warm), and neutral amber and yellow-browns will provide a consistent look and tone for my final animation.


The environment of molecular anatomy carries similar attributes as an underwater scene; increased air density with damping and turbulence will aid in the desired effect. Shaders used will be primarily sub surface scattering materials with low or little specularity, or instead of sss-materials a generic Lambert material can be used with increased transparency with a fall-off effect (can be simulated with a ramp shader) to soften the object edges, and which provides a similar quality as an SEM photograph. Lighting will consist of mostly spot lights and with sss-materials will require strong back lighting.

The textures of the molecular components and their environment include displacement attributes of noise or leather or can be directly created by painting geometry or by Zbrush effects. Most of the models will maintain an organic aesthetic and will not require mapping or image files. Specific protein models that are involved in the MOA can be created using mMaya, a plugin for Maya that allows the user to import models directly from the Protein Data Bank.

Post production: refering to the MOA on TNF antagonist, there will be a vignette-style appearance with blurred corners and in after effects a slight grain may also be applied to give the animation an aged film feel. There is no narration, however I may include labels and a soundtrack.

Facial Reconstruction of Early Human


Scroll down for Updates


2/15
For my final project in 3D Space II, I would like to integrate my Master’s research project with material I have and will be learning from this class. My research project is to use a skull fossil to create a digital facial reconstruction of an early Holocene male. To complete this project, I need to use a digital program which will let me sculpt facial features, use a morphing tool to age the character, rig a character’s face to show different facial expressions and create an animation for presenting.

The fossil was discovered among the remains of two hundred human burials that occurred in the Gobero region of the Ténéré desert in Niger. These fossils date back to around 8000 B.C.E. and have given major insight into the occupants of the once fertile area, nicknamed the Green Sahara. Two distinct groups were found at the burial site, inhabitants from the early Holocene era (7700-6200 B.C.E) and mid Holocene era (5200-2500 B.C.E.), the Kiffians and Tenerians respectively. These groups were extremely different from one another, both culturally and physically (Gwin 2008). So far, only the face of the Tenerians has been reconstructed for study.

The Kiffians had a long and low skull, a wide nasal aperture, negligible alveolar prognathism and a distinct bump on the back of their heads. They were tall in stature, which complimented their hunter-fisher-gatherer lifestyle. Though the Kiffians were unique to the area, their facial features do correspond to the mid-Holocene "Mechtoids" from Mali and Mauritania, the Late Pleistoene Iberomaurusians and early Holocene Capsians from across the Maghreb. If I can find material on these groups, I will be using them as references for my reconstruction.

The face will be reconstructed using sculpting tools in Maya and ZBrush.


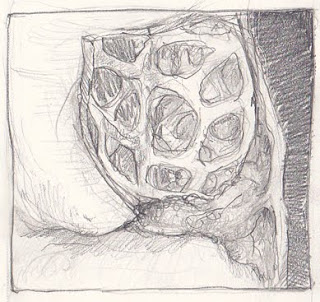
The two pictures to the left show the bony landmarks that will be used to follow the Manchester method of 3D facial reconstruction.


Using an .obj file of a male face, I will push and pull vertices to align the mesh to the yellow dots (which will be dowels) and further manipulate the mesh to match depth measurements at those points.


With my reconstruction, I have been asked to create an animation showing the face age and have different expressions. I believe that the best way to address this is to create five models (in increments of 5-8 years) in Maya and then morph them to the original (youngest) model. If there is a way to do this with displacement maps created in ZBrush, I would like to use that as well. Otherwise, I will be using texture maps from ZBrush. The mouth will be rigged but I may end up sculpting it in 3ds Max so I can use LipService from JoeAlter, Inc.


The face will be the focus of the animation. In the background, I plan to camera map a tropical jungle scene, but have it slightly blurred so that most of the attention is on the face.

The textures and colors used for the model and animation will be realistic, including some dirt and damage from the sun.

The lighting will reflect a sunny day- bright, vibrant and yellow-tinted. I particularly like the lighting that Viktor Deak uses in his reconstructions of early humanoids.


Currently, I am working on a 2D illustration of the Holocene era's face. It is a time-intensive task though because of measurements and confirming accuracy with my committee. I plan on posting that picture on the blog at a later date.


UPDATE 3/3

The technical phase of the facial reconstruction has been completed.

The first step in this process was to place tissue depth markers on specific bony landmarks.

These bony landmarks are a standard in forensic reconstruction and tissue depth tables are created from these locations. Tissue depth is determined by a needle being pressed into the soft tissue over these bony areas and mm measurements being recorded.

To create an accurate reconstruction, I pushed and pulled vertices of a pre-made bust to match the depth marker height. The choice of using a pre-made bust was for time concerns. The bust was downloaded from Ten24 Studios

Here is the final outcome from following the depth tissue measurements and advice from forensic reconstructionists.

The first, unsmoothed model will be imported into ZBrush to have fine details sculpted and textures painted.

While I don't have swabs of textures to show, I do have a plan for how I will create textures. I am consulting two tutorials for facial reconstruction:


Essence:The Face


Eat3D- Portrait Production: Creating a Realistic Portrait in Maya


My main areas of focus are creating skin texture, the affects of aging and the eyes.


UPDATE 4/25

Sadly, I have no been able to make as much progress with this piece as planned.

For this class, I am narrowing my goal to creating some simple facial movements and texture (skin, hair, colorize) for one age group (there will be no wrinkles/aging for this class anymore).

So far, I only have some simple facial movements. While I feel that the blink is good, I am still working on the shape of the opening and closing mouth.


I will continue working on the mouth movements, create eye movements and begin creating textures before presentations next week. Before presentations, I will continue to upload my progress, since I still have a lot of work to do and would like to post it on this blog.
Feb 14, 2011

Bacteria World


Bacteria Video This link takes you to the video of my bacteria.

Research Video Also, just for fun this takes you to a video from my research project.


For my final assignment I would like to create a cellular environment as an extension of my final project from Maya 1. This time I would like to incorporate more advanced animation techniques to bring the scene to life.

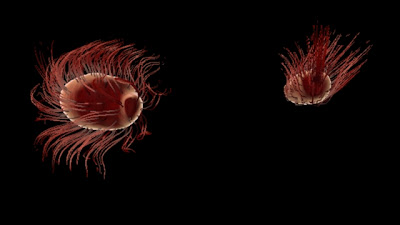
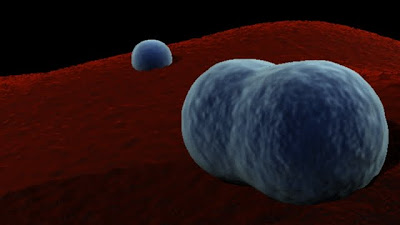
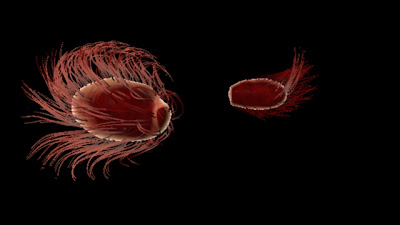
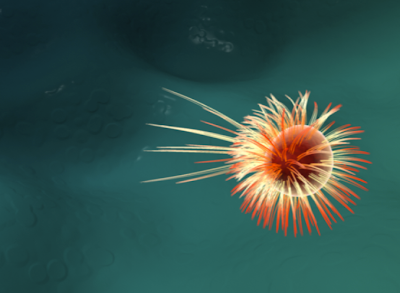
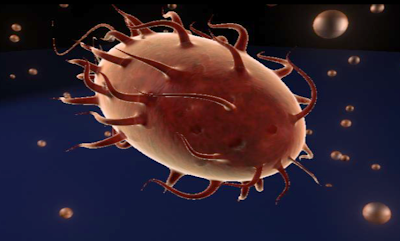
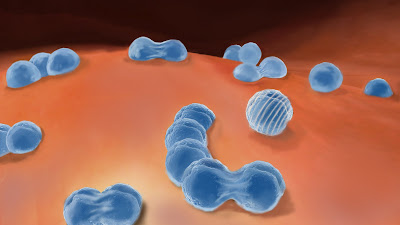
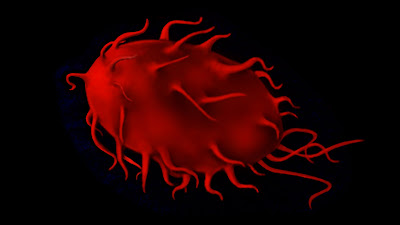
Since it is a cellular environment I would like to create the feeling of being underwater, with the models floating more than being awkwardly suspended like they were in my first animation. I have models of two bacteria. One is a simple sphere like bacteria and the other is more complicated with flagella and cilia. I would like to have many of the spherical bacteria in the scene. A few of these will be dividing using the technique from the mitosis tutorial. I would also like to have at least one of the flagella bacteria floating through the cellular environment in a natural way where the flagella and cilia are moving as well as if it is in water. I think it would add to the realism of the scene if I used some sort of particle system to pass through the scene, like smaller particles moving around in the cellular environment through the watery density of the air.

In the previous class I could not figure out how to make a fall off type texture for my bacteria (to make it look like it is being viewed through a scanning electron microscope) but I would like to try to get that effect this time.

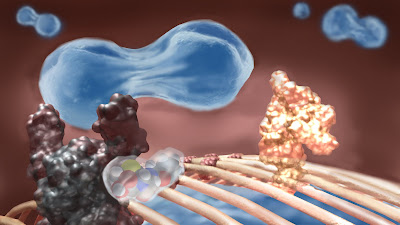
I would also like to include the other models that I used in the previous animation when you zoom in closer to the cell, but have them interact in a more natural way. I want to have penicillin binding to the enzyme so I will use the parent constraint technique.

I would like for the environment to feel a little dark/creepy/sinister. I think the scanning electron microscope texture effect (I included some images in the folder of what this would look like) would help achieve this effect as well as some moody lighting.


Semester Project "Dance of the Hours"


Dance of the Hours!

Title: “Dance of the Hours”
Length: 1 minute 45 seconds
Music: Dance of the Hours by Amilcare Ponchielli

Concept
The main concept for this project is a dance sequence, which will be choreographed in time to Poncheilli’s “Dance of the Hours”. The main characters will be clock roman numerals 1 – 12. Each individual numeral/character will be introduced to the scene and will dance in time to the music, except for poor number 5 (V) who is often left out. The character’s motions and mood will be driven by the beat/tone of the music.


Setting
Since my main goal is to create emotive characters that are full of life, the surrounding environment will be need to be kept minimal. A flat colored ground plane will extend backward in the z-axis and then curve upwards into the y-axis. The world of this animation will be purposefully kept simple.


Color and Style
I envision a bold warm-toned color pallet for this sequence. Reds, oranges and warm golds will be used to mirror the energy of the music. My inspiration for the style and color palate has been influenced by Lou Romano’s concept art for Disney Pixar’s “The Incredibles”.


In shading and lighting this scene, I want to create a clean and modern aesthetic. The numerals will be a sharp-edged font with serifs, and will be a bright color to contrast with the equally bright background.


Motion
Above all, I want these numerals to become characters that are full of life. By using n-Dynamics, I can give each character a lifelike bounce and jiggle. Since this is my first time attempt at character animation, I hope to invest some extra energy is a few of the scenes. In these key scenes I will rig a few of the characters, which will allow me to control their movement more finitely. In my concept sketches, I have come across specific postures that strongly suggest a particular emotion. I anticipate that these poses will be pretty time-expensive, which is why I am limiting this approach to a few keys scenes.

The sequence is a callback to Disney’s film Fantasia, which allowed music to drive the plot and character motions of a scene. The song Dance of the Hours is very energetic, and I hope that I can create character movements equal to the piece’s exciting tone. Since much of the song has heavy downbeats, my characters will not only need to dance but to forcefully convey they can keep in time with the beat. This will set a nice contrast for character V, which spends the entire sequence dancing to his own silly line of music, which ultimately, lands all 12 of the numerals spinning dynamically in the frame of a clock.

************

April Update:

Its time to update with a few final scene renders! The images are from different scenes in the sequence. I am please that these renders are looking very close to my original concept art. Although some of the scenes do not have the spot lights with Fog Effect, I really like the effect this has and would like to make it consistant throughout the entire animation. I think the lighting could even be pushed further (lights turning on and off in time with the music). This would increase the intensity and excitment of the music.


*******

One more rendered final image!